Quick search
CTRL+K
Quick search
CTRL+K


Garlic, with its pungent aroma and distinctive flavor, is not only a popular culinary ingredient but also a rewarding plant to grow in your garden. Whether you’re a seasoned gardener or a novice with a green thumb, planting garlic can be a gratifying experience. In this comprehensive guide, we will provide you with valuable tips and insights on how to plant garlic successfully. From selecting the right cloves to harvesting your flavorful bulbs, we’ll cover all the essential aspects of growing garlic.
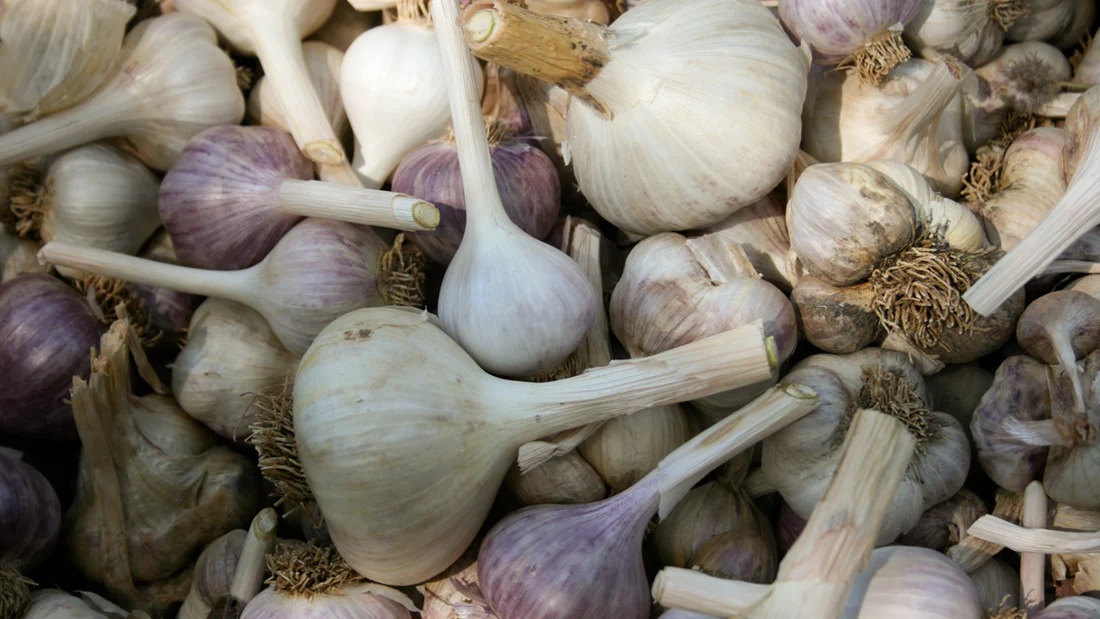
The first step in garlic planting is selecting the appropriate variety for your climate and preferences. There are two main types of garlic: hardneck and softneck. Hardneck garlic varieties thrive in colder climates and produce scapes, which are curly flower stalks that can be harvested and used in cooking. Softneck garlic varieties are better suited for milder climates and tend to store longer.
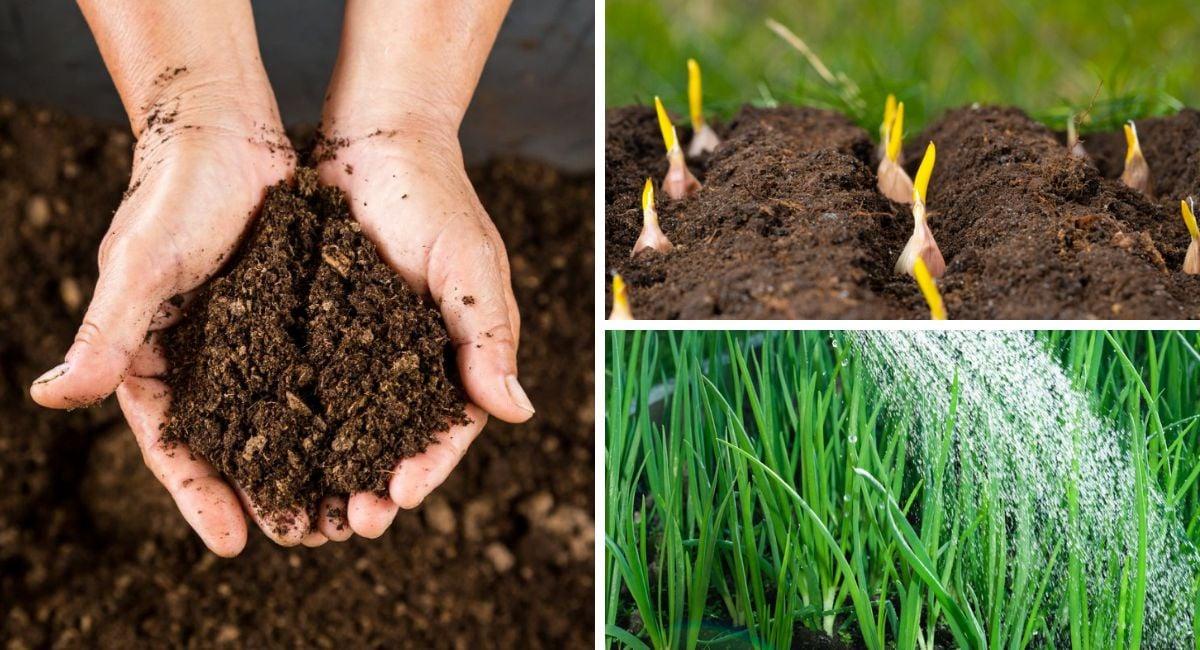
Garlic thrives in well-drained soil with a pH level between 6 and 7. Before planting, it’s crucial to prepare the soil by removing weeds, rocks, and other debris. Loosen the soil with a garden fork or tiller and incorporate organic matter, such as compost or aged manure, to improve soil fertility and drainage.
Garlic is typically planted in the fall, several weeks before the first frost. This allows the bulbs to establish roots before winter and promotes better growth in the spring. However, if you live in a region with mild winters, you can also plant garlic in early spring.
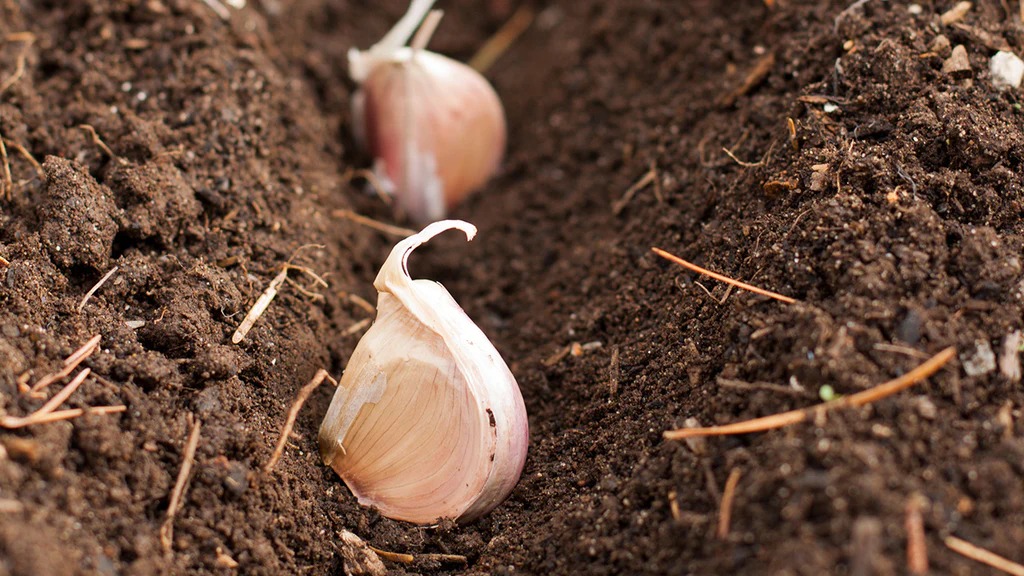
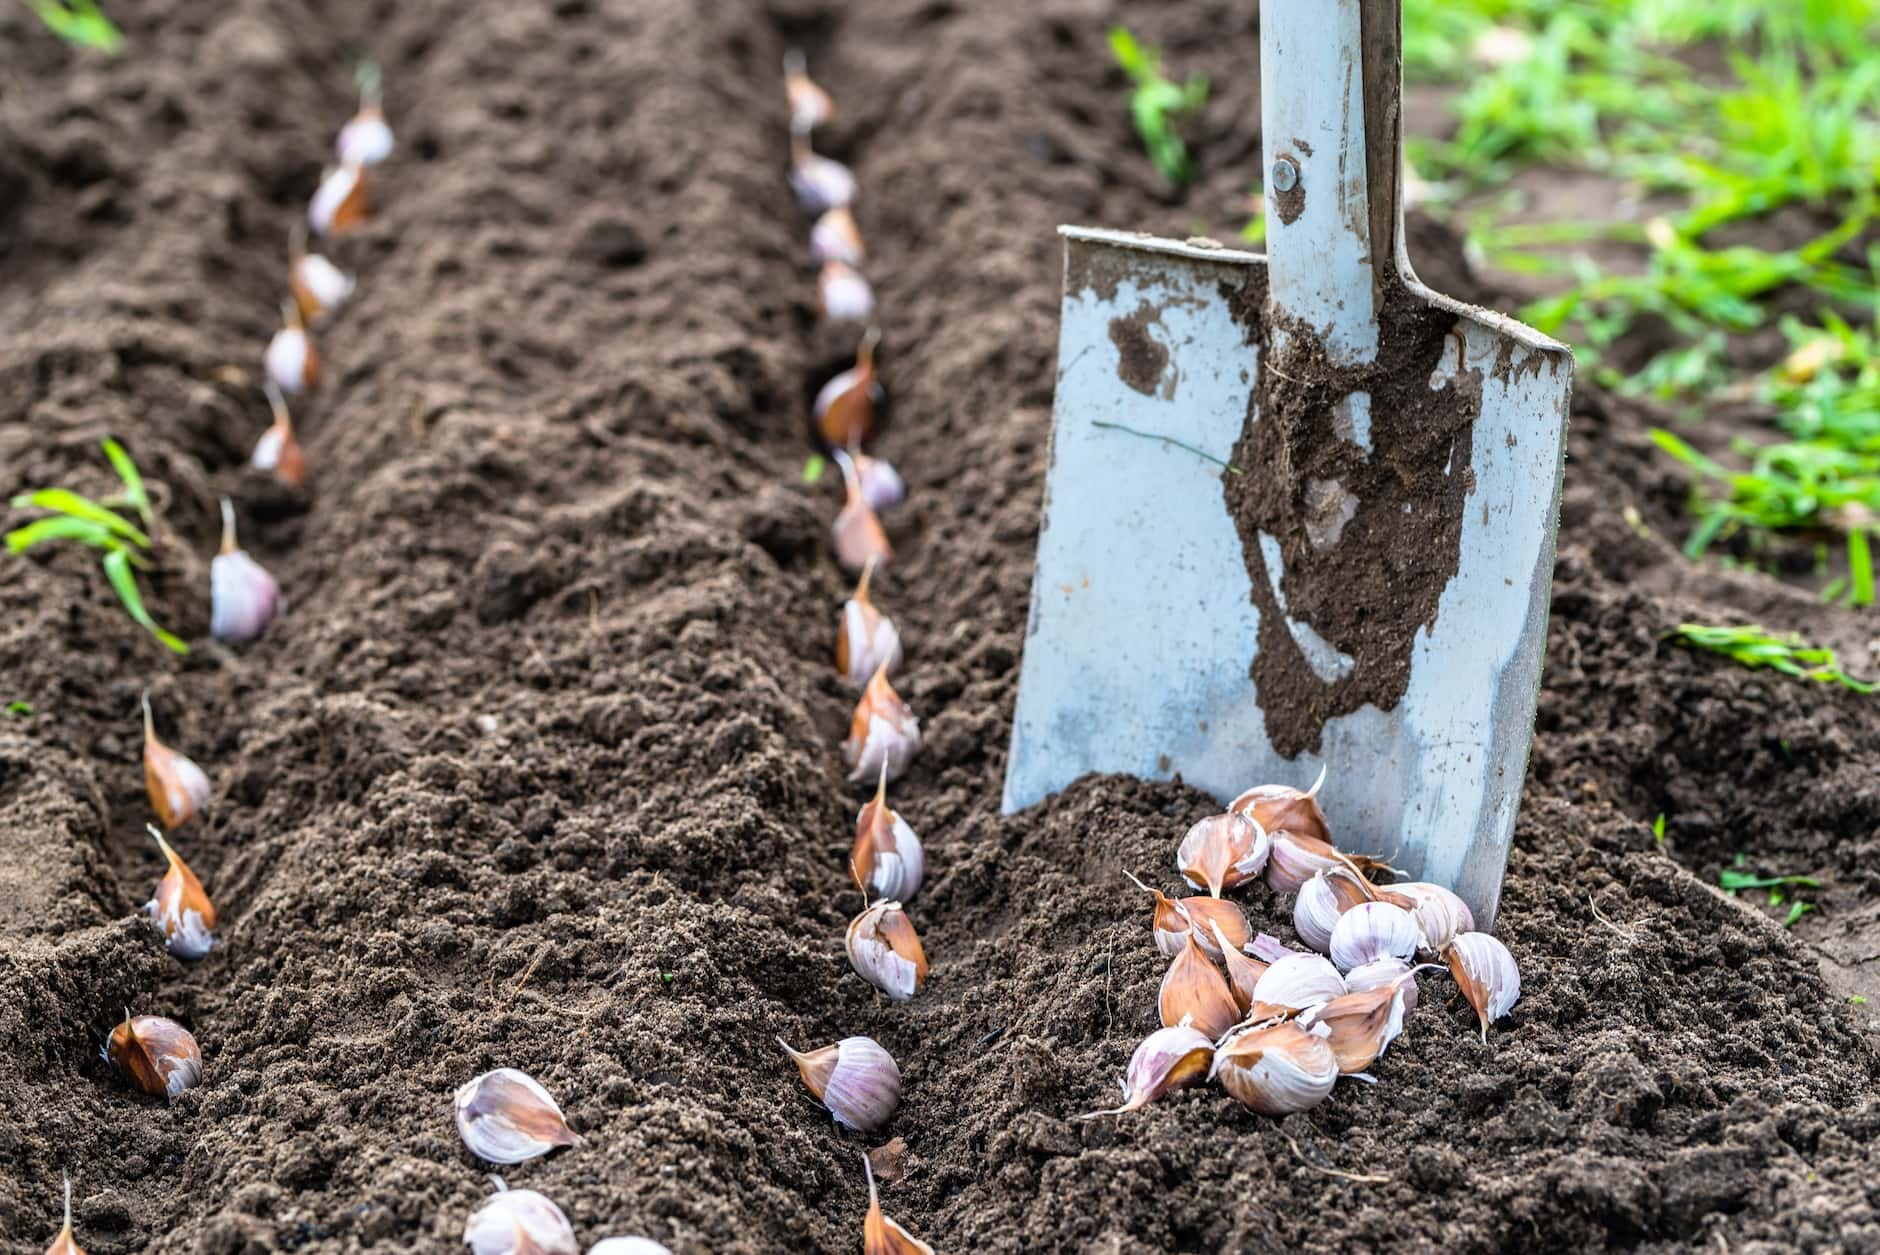
To plant garlic, break apart the garlic bulb into individual cloves, leaving the papery skin intact. Plant the cloves root-side down, about 2 inches deep and 6-8 inches apart in rows. Ensure the cloves are planted with the pointed end facing upward. Cover the cloves with soil and gently pat it down.
Garlic requires consistent moisture for optimal growth. Water the garlic immediately after planting and continue to provide regular watering throughout its growth cycle. However, be careful not to overwater, as excessive moisture can lead to rot.
To conserve moisture and suppress weed growth, apply a layer of organic mulch, such as straw or shredded leaves, around the plants. Mulching also helps regulate soil temperature, especially during extreme weather conditions.

Garlic is a nutrient-hungry plant, and providing adequate fertilization is crucial for healthy bulb development. Before planting, incorporate a balanced organic fertilizer into the soil. Additionally, you can side-dress the garlic with compost or a nitrogen-rich fertilizer during its growing season to promote vigorous growth.
Garlic is generally resistant to pests and diseases. However, you may encounter issues such as onion thrips, aphids, or fungal diseases like white rot or downy mildew. To prevent infestations, practice crop rotation, keep the garden clean, and inspect the plants regularly for signs of damage or disease. If necessary, apply organic pest control methods or consult with a local gardening expert for appropriate solutions.
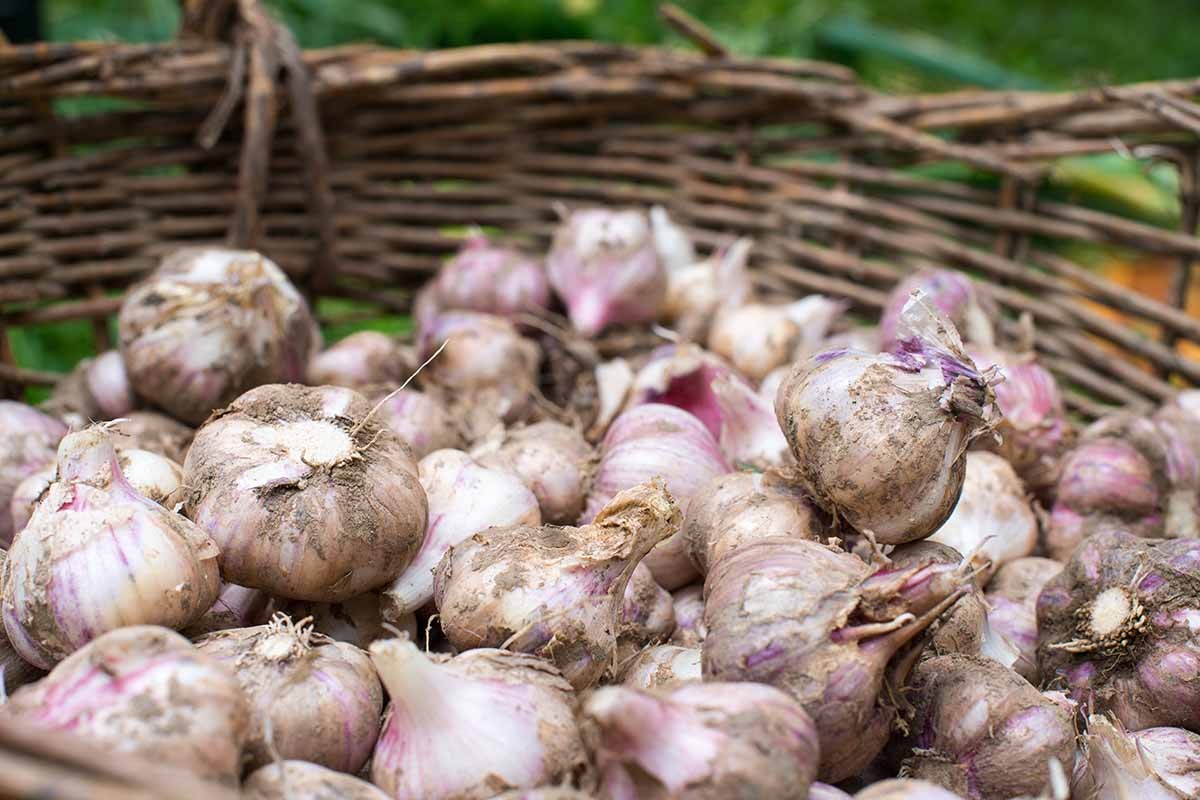
As the garlic plants mature, the leaves will start to turn yellow and dry out. This is an indication that the bulbs are ready for harvest. Avoid waiting too long, as the bulbs may split or become overripe.
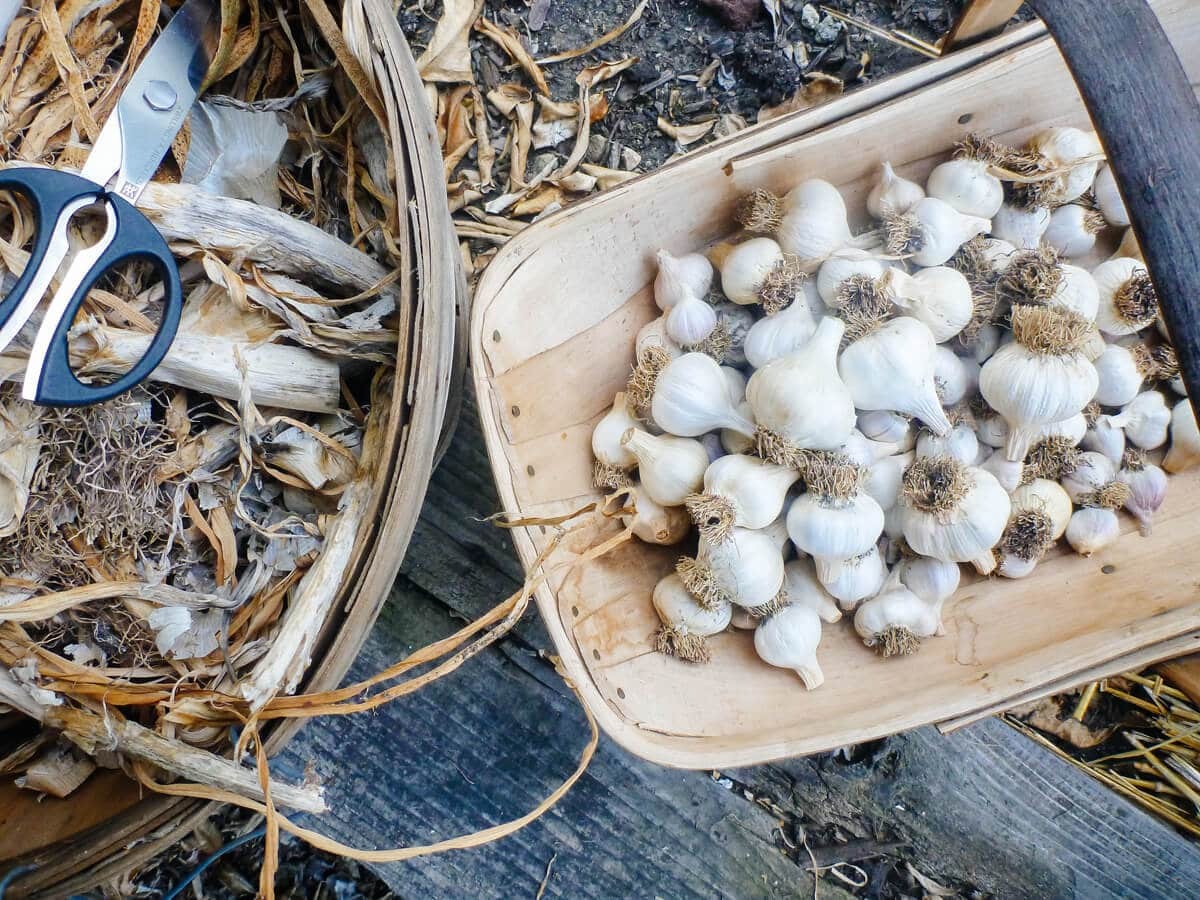
Harvesting and storing garlic bulbs properly is crucial to preserve their flavor, quality, and longevity. Here are the steps to harvest and store your garlic bulbs:
By following these steps, you can properly harvest and store your garlic bulbs, preserving their flavor and quality for several months. Enjoy the fruits of your labor in various culinary delights and savor the distinct taste of homegrown garlic throughout the year.
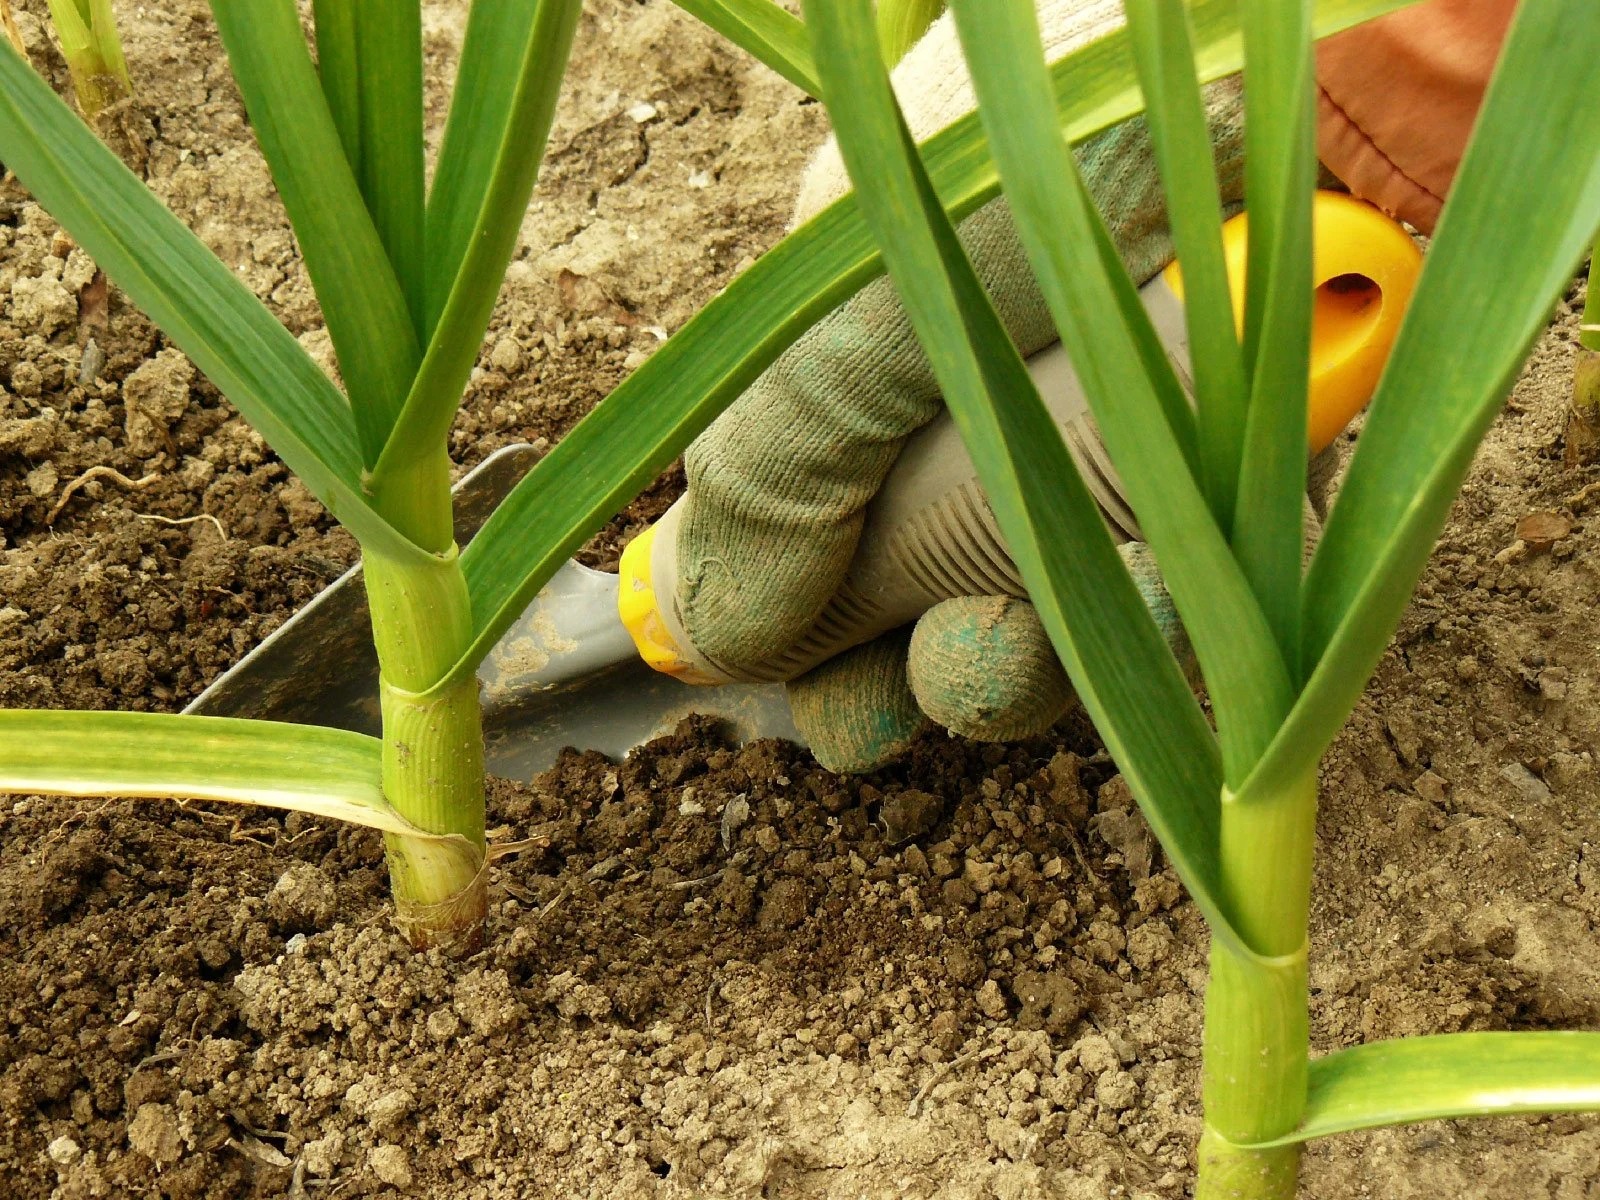
Gently dig up the bulbs using a garden fork, being careful not to damage them. Shake off excess soil and leave the plants to cure in a warm, well-ventilated area with good air circulation. Allow the bulbs to dry for 2-3 weeks until the outer skin becomes papery
